a little ingenuity goes a long way
If you’re a gardener and you feel like melons are easy to grow, please, message me! I want to learn your methods. I have found this crop to be one of the most challenging of annual vegetables. If it were anything else, I’d probably have given up by now. But nothing can replace the sweet sticky pleasure of a summer afternoon spent eating a perfectly ripe garden-fresh melon.
I tried a dozen different varieties of melons, and grew them in twice as many ways, and sometimes all I got was a single melon, small and underripe, barely edible after four months of work. Finally, I found a few great varieties and developed a system for getting the best melon harvest possible.
If you’re anything like me, you enjoy coming up with systems and structures to increase the yield and functionality of your garden. Anyone who has spent time and resources building trellises, cold frames or cloches will find it easy to agree that it was worth the effort, and this could not be more true when it comes to growing melons in a climate that is prone to late frosts (however brief) and early rains. Use the advice and devices below and you’ll be serving up a honeydew salsa by Labor Day!
How to Grow Melons
Choose locally bred, short-season, small-fruit varieties.
When it comes to temperate gardens, the best and most reliable melon variety, a million times over, is the Ha’ogen, a small, tangy-sweet, green-flesh fruit that ripens in about 75 days and falls into the honeydew category in terms of looks and flavor. I have also had good success with Hoodoo melons, a.k.a. “Hearts of Gold,” which are more like a cantaloupe. I encourage you to visit www.rareseeds.com and take a chance on whatever appeals to you.
What about watermelons, you ask? I don’t recommend them for a temperate climate. It’s just not hot enough. But don’t let that dissuade you from trying! Just be sure to choose varieties that fruit in 90 days or less.

Do the math.
Read the seed packet and count backwards from when you want to be eating melons. Consider that one quick frost is enough to kill melons, so make sure your harvest will come in well before that. Also consider that melons need as many hot sunny days as possible to grow big and ripen, so if you plant them too early, they will languish in the early summer rains. All of that being known, I think the second half of August is a realistic time to expect your crop. So, if you want to start harvesting August 15, and your seed packet says 90 days, you will need to get your seeds planted around May 15. But don’t plant them before Cinco de Mayo. Remember what I said about melons needing those hot summer days to boost the yield!
Set them up to succeed.
Amend with fertile garden compost and thoroughly work up a garden bed 36 inches wide. Melons like sandy loam, and they must be spaced at least 30 inches apart, so decide how many plants you want and plan accordingly. Twenty plants should give an average family a decent harvest, with some to share with the neighbors, so you will need a bed about 25 feet long. You can plant lettuce, spinach or cilantro between the melons, but avoid other cucurbits or heavy feeders like tomatoes or brassicas. Let the melons have the space and resources they need and they will reward you for it.
Don’t skimp on water.
Melons love water. Don’t go to extremes, but do establish a frequent, consistent routine. Erratic watering can cause fruit deformation, so set up a schedule and stick to it. But don’t water overhead when the sun is shining! The leaves will blister and, while it probably won’t kill the plants, they will spend energy healing instead of making your fruits. Hand water deeply into the base of the plant with a hose at least four times a week just before dusk. I don’t trust drip or automatic watering with my melons, and neither should you.
Keep the melon zone clean.
Throughout the season, keep the entire area meticulously weeded. I don’t mulch melons because they rot so easily. Keep the beds clean and free of debris so that slugs, grubs and mold spores don’t have anywhere to hide.
Direct sow and use a cloche system.
Most plants in the cucumber family do not enjoy being transplanted. They tend to spend several days in shock before they begin to grow again. When we’re talking about melons, this 6–12 day period could make the difference between getting a harvest or losing semi-ripe melons to the first frost. So, to avoid having to worry about frost either at the beginning or at the end of your melon adventure, build a series of cloches and row-covers for your melon patch. That way you can sow the seeds directly into the ground (avoiding transplant shock and growth-delay) and, if you design creatively, your cloches can double as trellises, to keep the ripening fruits off the ground where they easily rot and get munched by a wide array of garden marauders. (Everybody loves melons.)
How to grow melons: 90 day cloche system.
Days 1–15: Sow seeds in small hills under individual cloches made from gallon-sized milk jugs. Cut off the bottom, remove the cap and punch several holes in the plastic. Sow three seeds in each hill and fit the jug over the top to create a tiny greenhouse. Keep evenly moist until seeds sprout, and when seedlings are five days old, remove the two smaller seedlings and leave only one plant on each hill. This is essential. You must thin your seedlings. Water often, removing the milk jugs during hottest part of the day, as needed.
Days 16–44: Remove the milk jugs, wash them, and stash for next year. Use handi-mesh half-circles to make row covers (see photo). Cut the mesh wide enough to form a low dome over the young plants. Position the covers so that all of the plants are on the inside, about 3 inches from the wire. Now cover the mesh covers with greenhouse plastic and clamp it the plastic to the wire with small spring-clamps. Don’t worry about closing up the ends, it’s better to have the extra ventilation. If it gets extra hot in June, you might need to remove the plastic or punch holes in it. Keep an eye on the little plants; if they wilt or turn yellow, it’s too hot. Pull off the plastic but leave the handi-mesh in place.
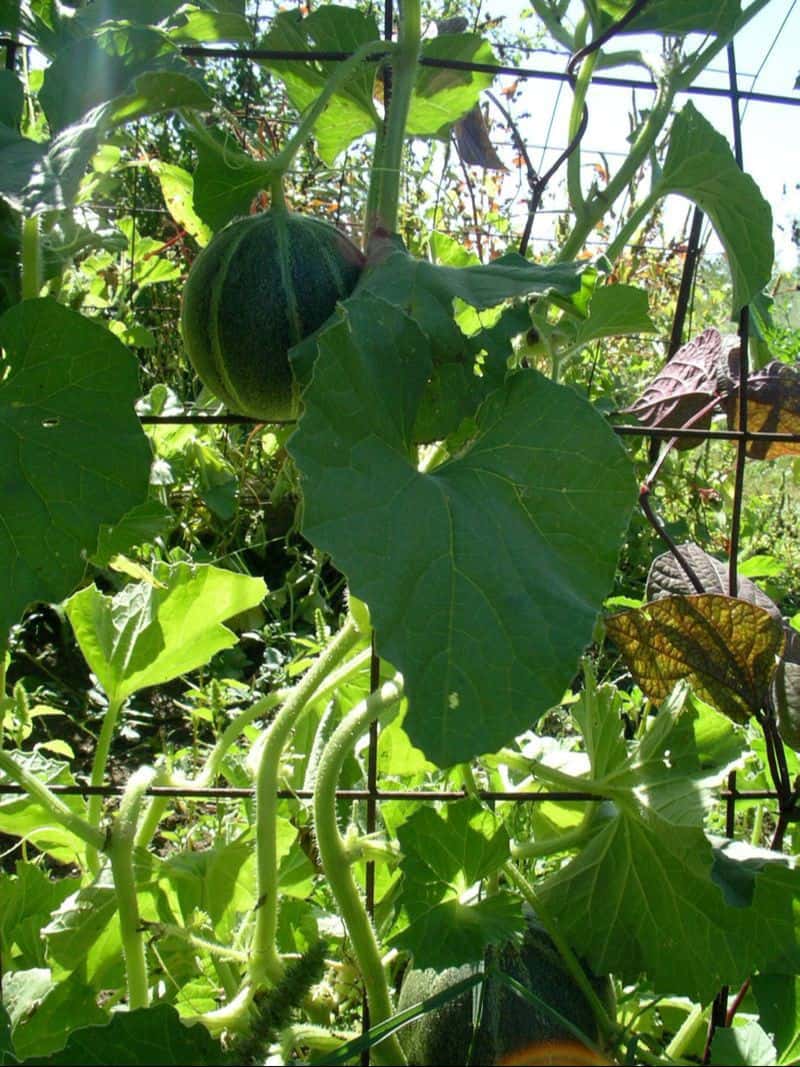
Days 45–90: Remove the plastic and convert the row covers into horizontal trellises by gently pulling the tendrils of the melon plants from the inside to the outside, letting them grow a bit more, and then poking them back through. As fruits start to form, make sure they aren’t getting too heavy for the trellis. You might need to tie a few branches. If fruits are laying on the ground or on top of the mesh, turn them over periodically so that they ripen on all sides.
Feel free to try variations on this system of how to grow melons and, as with all gardening techniques, connect with your neighbors to see what works for them.


