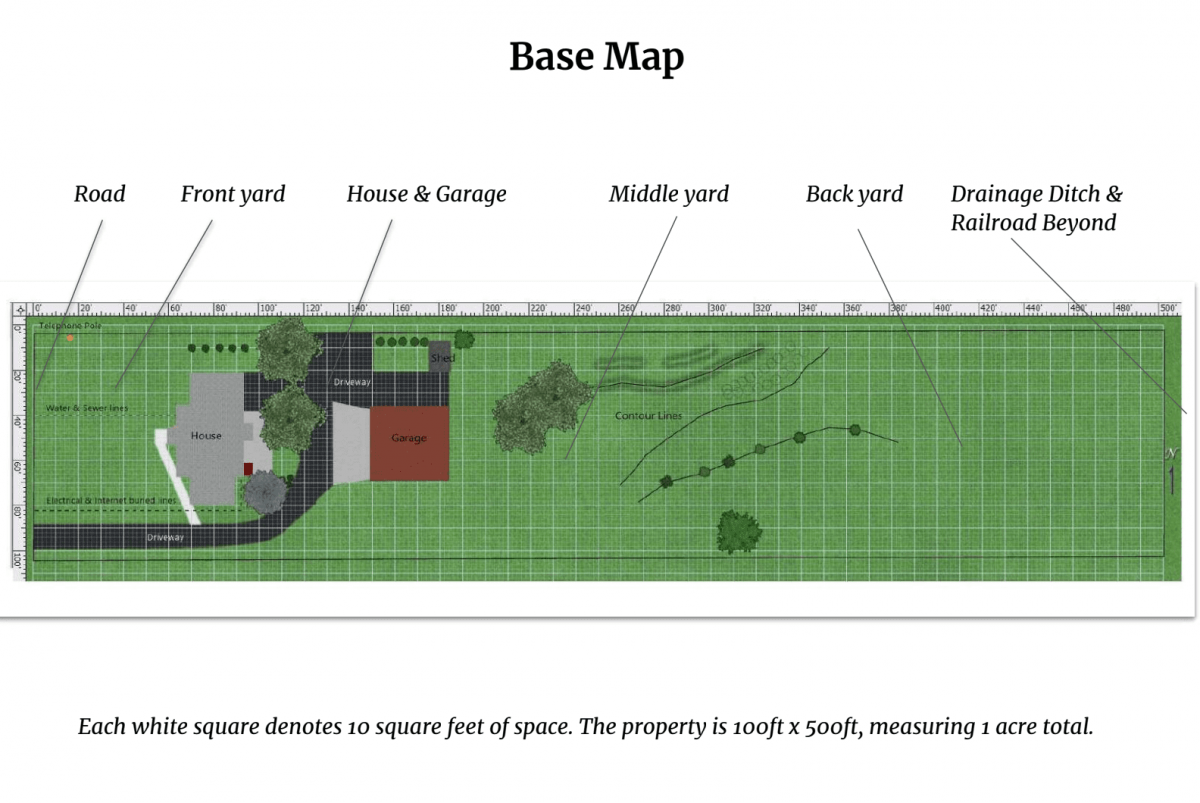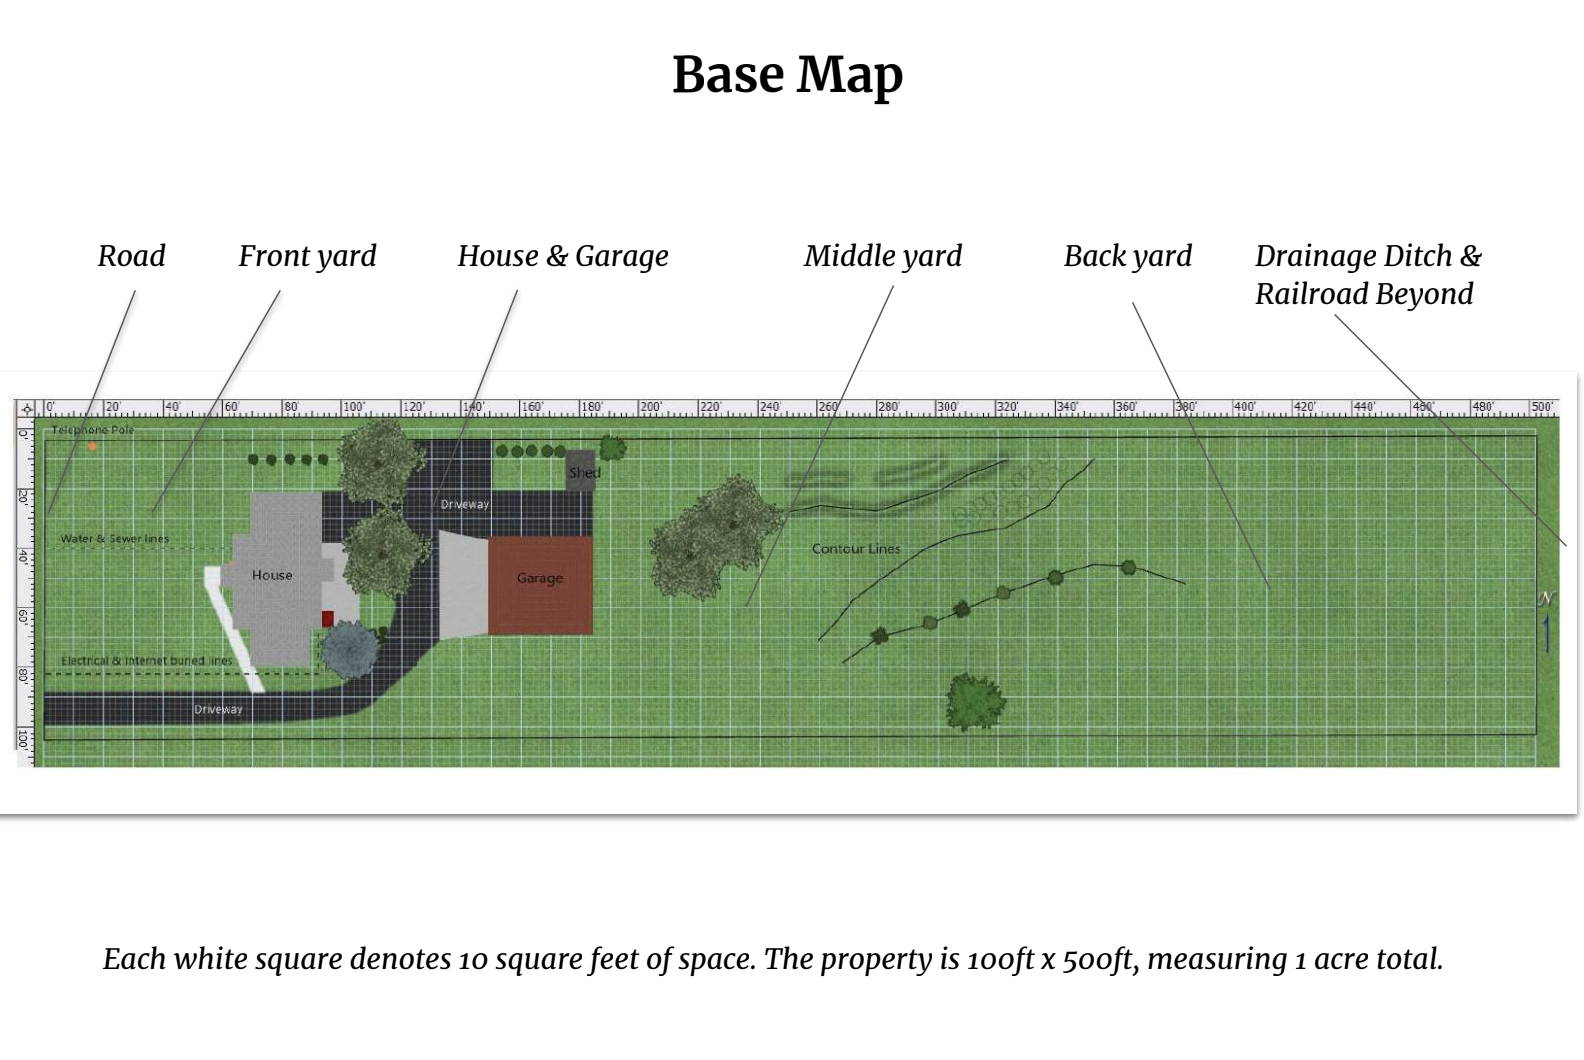
Simply put, you make a base map is by drawing lines on a grid that mark out the property lines, permanent structures, and main pathways on your site. The base map is just that: the base of your design.
Watch this short video for more explanation and some examples:

There is no one way to do it. You kind of just have to jump in and get it done however makes sense to you. If you were making a painting, you would sketch out the outlines first, right? That’s all the base map is, it’s a sketch of the outlines. To give you something to design onto, in 2D space.
From there, the rest of your design is built as layers onto the same base map. You can even just draw it once and make photo copies, if you want to work in analog space. Or use the base map as the bottom layer of your digital project.
Your base map should contain:
- Permanent structures
- Driveways or access roads
- Permanent walkways
- Property lines and utilities
- Big trees and permanent vegetation
- Fences and walls
- Contour lines
- North indicator
Base mapping can be useful for non land-based projects as well. If you are re-designing something, make a visual representation of what is there first. For instance, if you want to redesign your daily schedule, write down what actually happens right now. This will give you something to build from. If it is a new business, make a map of existing businesses in your area.
As you work through these topical modules, you’ll add layers to the map as needed. If we just put all the information on the base map it would get too messy and we can’t really see what is going on. By putting them on separate pages we can combine just a few of them at a time to start seeing trends. If you’re working digitally, these will be transparent layers in your document. If working with analog tools, layers usually show up as tracing paper overlays and/or multiple photocopies of the base map, each with a different set of information.
Pro-tips for beginner base-mappers:
1. You may be able to acquire the “as-built,” or “plat map” for your house. Ask the city or your landlord. If you don’t have an as-built, the next best thing is to use google maps to print out and trace or make a digital copy. Other starting places include satellite imagery, recent aerial photos, agricultural maps (soil and water conservation district), department of natural resources maps, or other governmental sources.
2. Use a measuring wheel. Not a measuring tape. Invest in a rolling tape with a long handle that you roll on the ground. This will give you a much more accurate reading than if you try to stretch a builder’s tape across the land.
3. Use a compass. The directions matter. Use them, mark them, understand how they relate to the sectors and, by extension, your design.
3. Be precise. A square centimeter of space on your base map could translate to several square meters of physical space on your site. The more precise you can be in your mapping, the less energy you will spend on corrections during implementation. Once you rough out the main areas, take the time to go back in and fix the details.
4. Use digital tools. All of the above tips, and more, become much easier when you use digital tools to create your multi-layered designs. This might be easier (and cheaper) than you think it is!
As you may already know, this link will lead you to a plethora of tutorials.
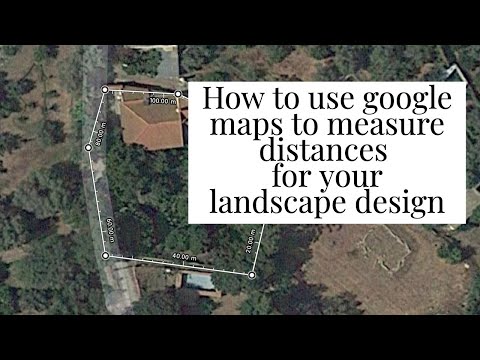
Here’s one about how to use Google Maps to measure distances on your landscape
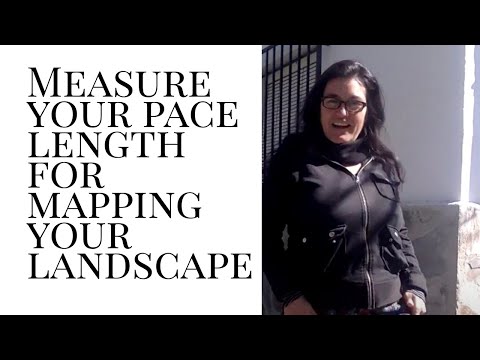
And here’s one, for more analog thinkers, about how to learn your pace length. This will be a huge help when you need estimate distances on a landscape, on the fly.