Harvest time blesses with abundance, a good time to know the basics of food preservation.
This article was originally published in The Healthy Planet Magazine
The Autumn Equinox sends a signal to the backyard gardeners’ cerebral cortex, gently reminding us that the harvest season has arrived and that now is the time to be preserving and putting up food for the winter. Within just a couple of short months, the garden will once again die off for the year, becoming dormant and barren, giving the soil a time to rest. An avid gardener’s greatest bounty occurs at this time of year. The seasoned homesteaders and canners have it down to a science, putting up multiple jars of canned tomatoes, sauces, salsas, fruits, vegetables, jams and jellies. Hats off to those folks. Becoming skilled in this age old hobby requires knowledge of safety measures and temperature regulation to prevent risks of botulism and temperamental pressure canners. I would recommend taking a few classes through your local Extension Office before delving into the art of pressure canning. For beginners, it is best to stick to the basics such as hot water bath canning and freezing.
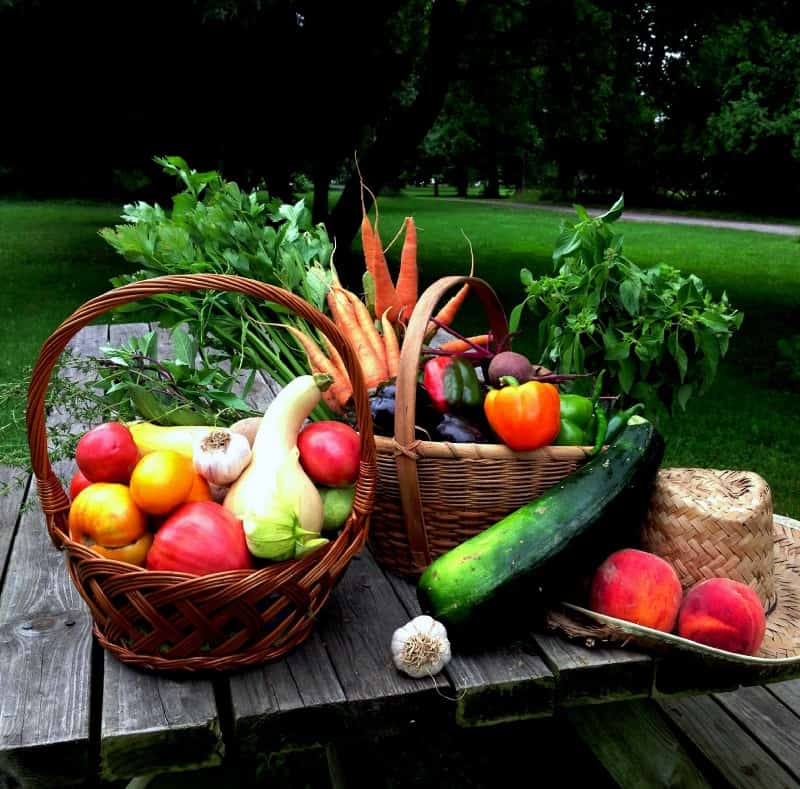
Freezing is an underutilized and excellent way to preserve your garden bounty — and it’s virtually fool-proof. Below are 4 simple suggestions:
- For squash, potatoes, sweet potatoes or eggplant, fully cook or blanch and freeze them in a freezer bag for quick meal additions. For vegetables such as peppers, corn or onions, just chop and freeze them to later add to omelettes, quiches, stir-fries, or other meals. This will make meal preparation more convenient too!
- With your harvest, cook large batches of soups or stews and freeze in freezer bags to thaw and heat in any amount you desire.
- Make batches of sauces or salsas and freeze in individual labeled freezer bags.
- Grill a large quantity of veggies at a time, cut into strips, and freeze in labeled freezer bags to have the taste of summer any time of the year.
Herbs are one of those garden glories that often get overlooked during the frenzy of harvest and canning season. Culinary herbs are not only flavorful, but are very nutritious and often highly medicinal. Common herbs and spices contain a plethora of medicinal qualities including antiseptic, anti-bacterial, anti-fungal, anti-oxidant, anti-inflammatory, and anti-cancer properties. Fresh herbs of course should be properly identified and researched before being ingested medicinally. There are many contraindications such as during pregnancy or while breastfeeding. Consult an herbalist to discover an herbal regimen that suits your needs.
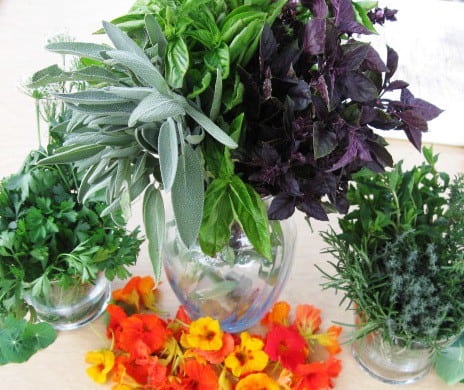
In the meantime, start preserving your culinary herbs! Most of the herbs are at their prime right now. Don’t miss the chance to preserve that beautiful fresh herb flavor to use in all of your culinary creations throughout the winter months.
Here are some simple ways to preserve your herbs:
Drying
Either hang bundled herbs upside down with a string in a dry place, or dry a food dehydrator. When the leaves are crisp and dry, remove from stems and store in labeled glass jars. Be sure to include the date. Once you have multiple dried herbs, you can create custom spice blends. Create a handmade label and give as gifts to friends and family.
Freezing
One of the easiest ways to capture an herbs essence is to simply cut fresh herbs with a pair of scissors and freeze them in ice cube trays. Use fresh herbs. Cut the leaves from stems. Fill ice cube trays with water, and then place herbs into each cube space. Freeze overnight. Place frozen herb ice cubes in labeled freezer bags. These work well for adding to soups, stews or sauces.
Herbal Vinegars & Olive Oils
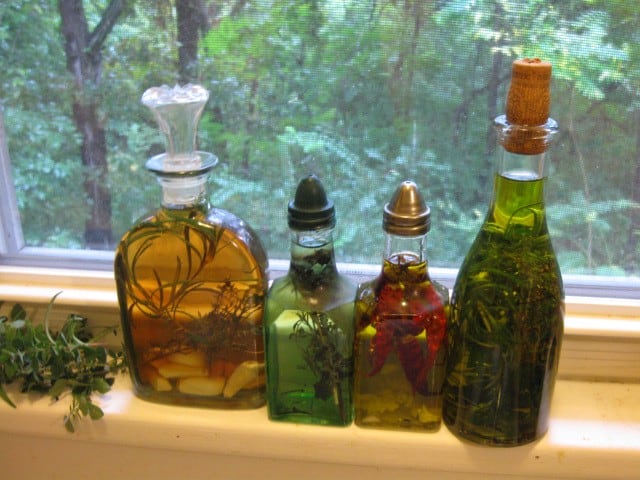
Simply place clean, dry herbs in a jar of either vinegar or extra virgin olive oil. Store in airtight, labeled jars. Hardy herbs such as rosemary and thyme may stay in the jars. Remove leafy herbs such as basil and parsley after 1–2 weeks of steeping. Be sure to include the date on your label. No need to refrigerate. Use within 6 months.
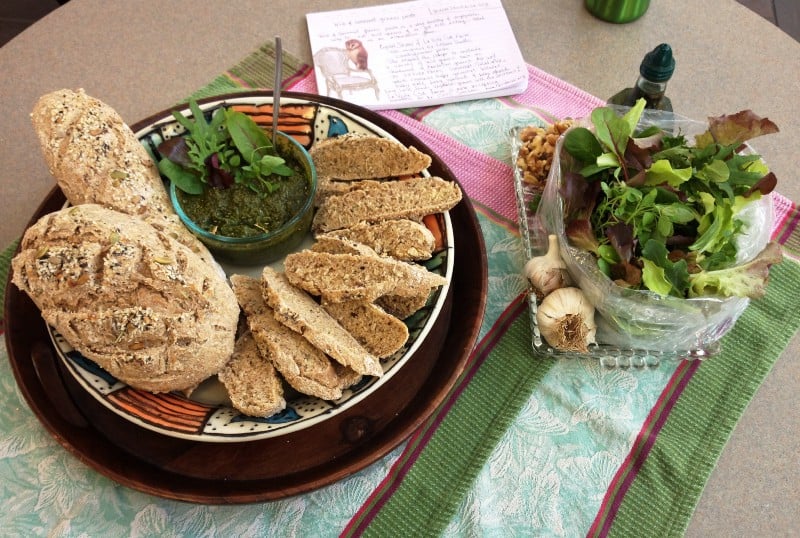
Pesto
Pesto is a simple way to prolong the freshness of herbs. Pesto can be made with any leafy herb. The basic pesto recipe is:
2 cups of fresh herb (leaves only)
1/4 cup of nuts (any nuts will work.
You can also use sunflower or pumpkin seeds)
1/4 cup of olive oil.
A pinch of salt
A tablespoon of lemon juice to preserve freshness.
Combine all ingredients in a food processor until you reach desired consistency.
Pesto can be made from basil, parsley, cilantro, chervil, dill, mint, lemon balm, as well as from lettuce, arugula, kale and chard. Pesto can also be made from wild edible weeds such as lambs quarters and chickweed. Freeze excess pesto in labeled freezer bags or in ice cube trays which can be stored in freezer bags when frozen.
Herb butters
Create your favorite herb combinations. Remove herb leaves from stems. (Use stems later in a broth.) Chop herbs finely. Melt a stick of butter in a saucepan over medium heat. Sauté herbs gently and remove from heat. Pour the melted butter in baby food jars. Stir while the jar is cooling. Once the butter has cooled, place in the refrigerator. If you desire whipped butter, simply whip the melted herb butter in a food processor and store in baby food jars in the refrigerator.


